In order to create a COmanage VM, you must have a 32bit processor, 1 gig of RAM, and 4GB of disk space.
1. Install Debian Lenny.
COmanage appliances are built using Stanford's internal Debian-built system. For those outside of Stanford who wish to duplicate this process, a base Debian Lenny system will likely be equivalent.
2. Configure Debian.
For those using Stanford's internal build servers, begin with the following four steps:
- Remove all traces of pam afs session from the pam configs.
- Remove all the stanford bits from the /etc/ntp.conf.
- Make sure the /service directory was created properly.
- Check /etc/networking to ensure the system is set up for DHCP and that the network section in /etc/comanage/setup.ini is removed.
Log in on the console as root, and create /etc/apt/apt.conf.d/20comanage, containing this:
APT::Install-Recommends "false";
APT::Install-Suggests "false";
Edit /etc/apt/sources.list to match this:
deb http://ftp.us.debian.org/debian/ lenny main contrib non-free
deb-src http://ftp.us.debian.org/debian/ lenny main contrib non-free

deb http://security.debian.org/ lenny/updates main contrib non-free
deb-src http://security.debian.org/ lenny/updates main contrib non-free

# the repository for COmanage test packages
deb http://exodus.stanford.edu/comanage stable main
Update the local APT cache:
# aptitude update
Install the COmanage repository keyring (select "No Configuration" when prompted):
# aptitude install comanage-keyring
Install Sun's Java packages:
# aptitude install sun-java5-{bin,jdk,jre}
(Accept the Sun license when prompted)
Remove the user created during the install, if any:
# userdel USER
Snapshot
This is the point where the VM is ready for the COmanage packages, so you might want to create a snapshot.
3. Install the base COmanage packages.
# aptitude install co-setup co-base co-grouper co-grouper-cli co-ldappc
(Just skip through the slapd configuration; when prompted, skip the grouper and ldappc configuration too)
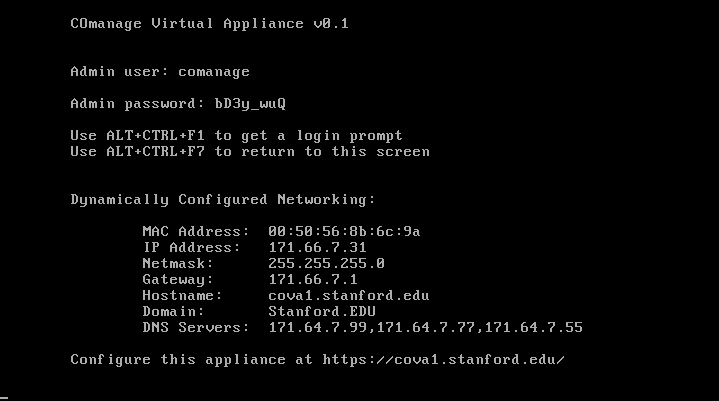
After the installation completes, you should see the COmanage info on the console:
Perform the following cleanups:
- delete the cert and key (/etc/comanage/user.*)
- delete the networking section from /etc/comanage/setup.ini
- delete /etc/cron.daily/tripwire
Power off the VM and export: From the VI Client, select the VM and then select File -> Virtual Appliance -> Export. Then bring in to VMware Converter to convert from OVF to VMX.
This is what I did to then take the half working VM and make it into a distributable alpha:
- Ran through installer but skipped all the shib bits by going directly to infrastructure.php after the timezone setting.
- chown the shibboleth2.xml file to be owned by www-data
- Edit attribute-map.xml in /etc/shibboleth to uncomment out the LDAP bits
- Start mysql
- Start ldappc
- Install unzip
- Install the confluence and then co-confluence
- Drop idp.xml from /var/lib/tomcat5.5/conf/Catalina/localhost/
- Install co-sympa and run /install/sympa from web browser
- create sympa mysql user and sympa database:
create database sympa;
grant all privileges on sympa.* to sympa@localhost identified by 'comanage';
flush privileges; - set /etc/sympa/facility to "local1" and add local1.* /var/log/sympa.log to syslog.conf and restart sympa and syslog
- edit /etc/apache2/conf.d/sympa and add:
<Location /wws/sso_login>
AuthName Sympa
AuthType shibboleth
ShibRequireSession on
require mail ~ @
</Location> - Install co-drupal and run /install/drupal6
- Replace user.crt with a cert for localhost: openssl req -new -x509 -nodes -sha1 -days 365 -key user.key > user.crt
(make sure file permissions don't change and file is still owned by comanage:www-data with user and group writable.) - Change /etc/hostname to something else (comanage-alpha for now)